
Chrome extensions enhance the user's browser experience. To do this extensions use Chrome APIs that require certain permissions. Some permissions are less intrusive and don't display a warning. Other permissions trigger a warning that users have to allow. This page provides guidelines for working with permission warnings. Specific warnings are noted in the Permissions under the permission to which they apply.
When a new permission that triggers a warning is added, the extension will be disabled until the user accepts the new permission. See Updating permissions to learn how to test this behavior.
Some permissions may not display warnings when paired
with other permissions. For example, the "tabs" warning won't show if the extension also
requests "<all_urls>".
Best practices
Permission warnings describe the capabilities an API grants, but some warnings are harder to understand than others. Users are more likely to install extensions that follow these guidelines:
- Request relevant permissions
- Extensions are required to fulfill a single purpose and comply with the Use of permissions policy. Ensure you only request permissions that support the extension's main functionality.
- Use optional permissions
- Improve the onboarding experience by requesting permissions at runtime. This lets you provide more context around a particular permission and lets users choose which features they want to enable. See Permissions API for implementation details.
- Use the "activeTab" permission
- This permission does not display a permission warning. It grants temporary host permission to the site the user is on. For details, see Understanding the activeTab permission.
View warnings
To view an extension's permission warnings, you have the following options:
Use the Extension Update Testing Tool
Before you begin
- Install Node.js and NPM.
- Install Chromium.
- Clone the extension-update-testing-tool repository.
- Run
npm installin the root of the repository.
Using the tool
- Run
npm start. - Open the local server at http://localhost:8080 in Chromium.
- Drag an unpacked extension (folder or .zip file) to the page.
- Follow the instructions under "Install manually" to download and install the extension.
By manually packing the extension
- Navigate to
chrome://extensions - Enable developer mode
- Click Pack Extension.
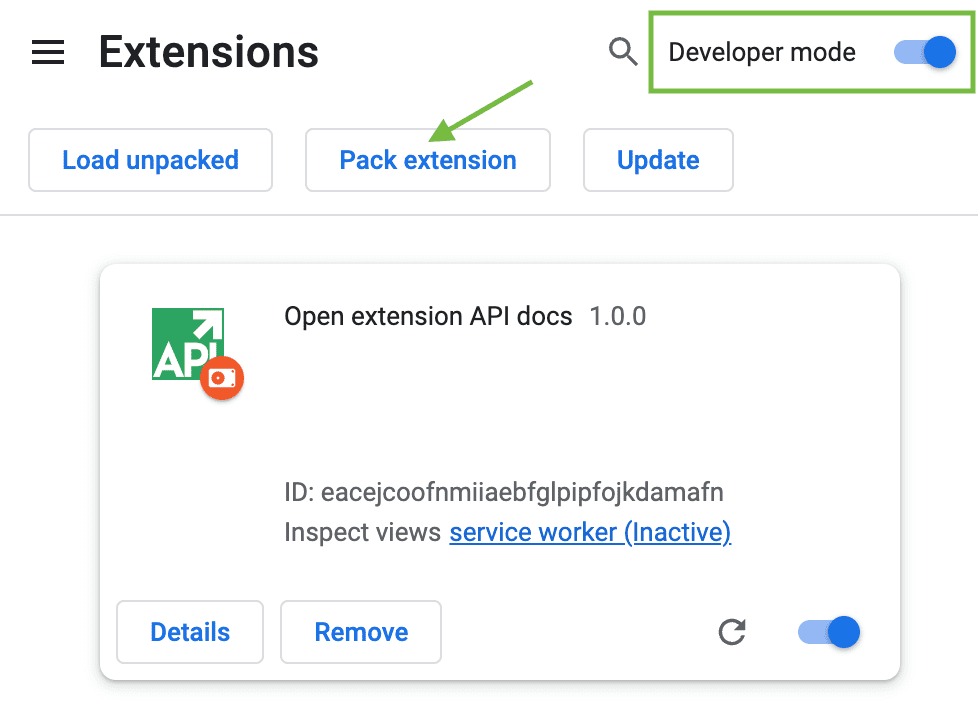
Figure 3: Developer mode enabled in the Extension management page - Specify the path to the extension's folder in the extension root directory field. Ignore the Private key field for a first-time package.
Click the Pack Extension button.
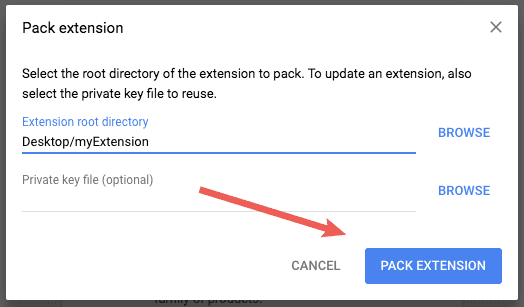
Figure 4: Specifying Extension Path Chrome will create two files, a
.crxfile and a.pemfile. The.pemfile contains the private key used to sign the extension. Make sure you remember which directory these files were saved.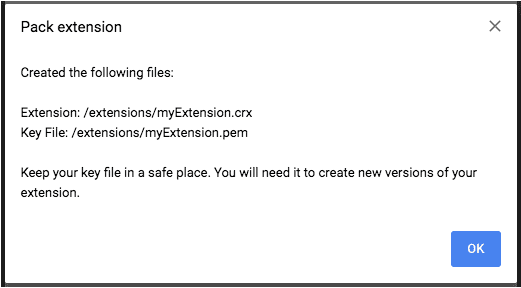
Figure 5: Packaged Extension Files Keep the
.pemfile in a secret and secure place; it will be needed to update the extension.Install the
.crxfile by dropping it into the Extension's Management page.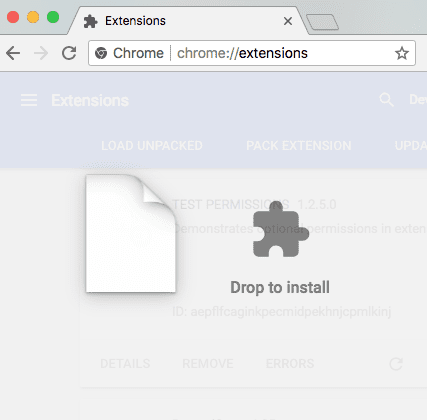
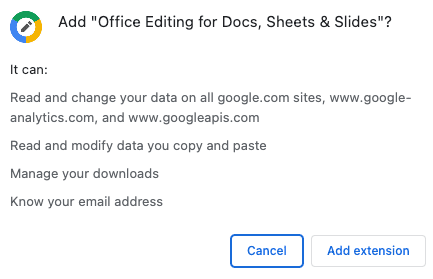
Figure 6: Drop file to install After dropping the
.crxfile the browser will ask if the extension can be added and display warnings.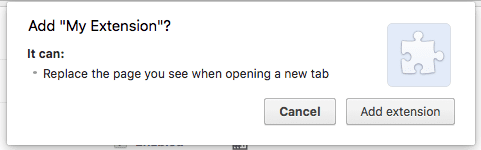
Figure 7: Warning for New Tab extension
Update permissions
When an extension adds a new permission that triggers a warning it may temporarily disable it. The extension will be re-enabled only after the user agrees to accept the new permission.
To check if your extension will be disabled when adding a new permission, you have the following options:
Update using the Extension Update Testing Tool
These steps assume you followed the Using the Extension Update Testing Tool instructions to start the server.
Using the tool
- Add a new permission with warning.
- Increase the extension version number.
- Drag the unpacked extension (folder or .zip file) to the page.
- Go to
chrome://extensions. - Click the Update button.
Update your extension manually
- Find the
.crxfile you just created in View Warnings. - Rename it or delete it.
- Open your
manifest.jsonand add any permission that triggers a warning. - Go to
chrome://extensions. Do not remove the previously installed package. - Pack the extension again, but this time add the pem file in the second input.
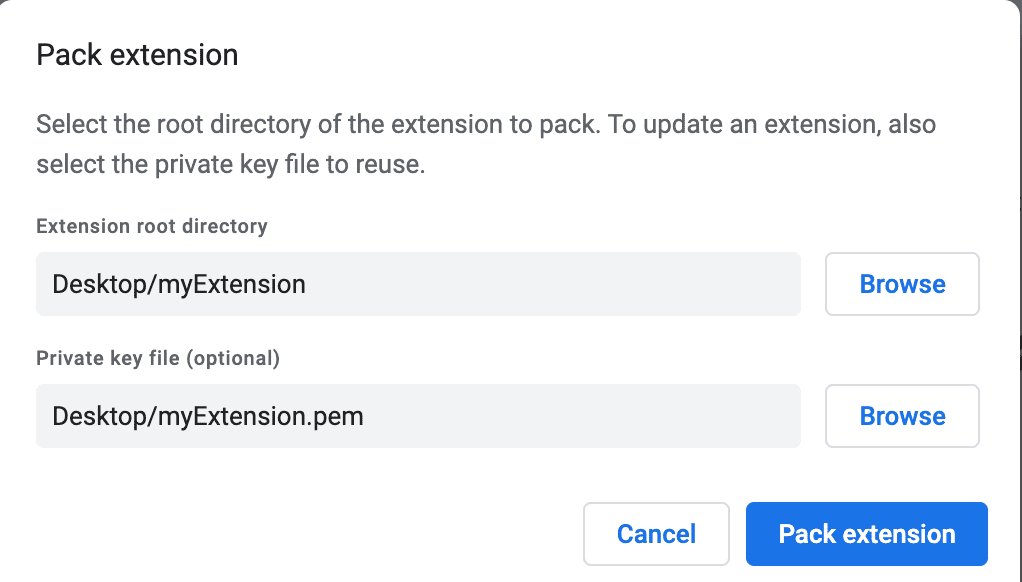
Figure 8: Packing extension dialog with pem file included. - Drag the new packaged extension to the Extension Management page.
You will see a dialog that prompts the user to accept the new permissions.
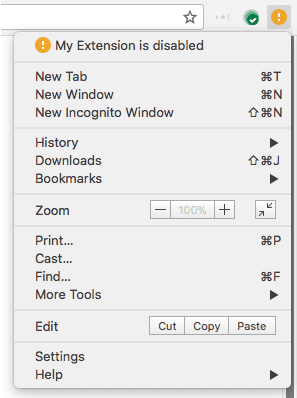
Figure 9: Disabled extension warning 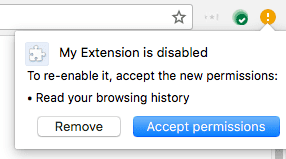
Figure 10: Requesting new permission dialog